

Tackling your family photo collection can feel like trying to wrangle digital chaos into a neat, cherished archive. It’s all about a simple, repeatable process: get all your pictures in one place, weed out the duplicates and duds, create a filing system that actually makes sense to you, and lock it all down with a solid backup plan.
Following these steps is the key to making sure every precious memory is safe, sound, and easy to find when you want it.
Why Bother Organizing Your Photos? It's Worth It, I Promise.
Are you drowning in a sea of digital images on your phone? Got old shoeboxes overflowing with prints you haven't looked at in years? If so, you're definitely not alone. The very idea of organizing decades of family photos can feel completely overwhelming, but it's one of the most rewarding projects you can do to preserve your family’s legacy.
This isn't just about tidying up; it's about building a system that gives you total peace of mind.
The sheer volume of pictures we all take is mind-boggling. Think about it: the average family snaps over 1,500 photos a year. What's truly shocking is that a staggering 85% of these images are never properly organized or backed up. This digital free-for-all often ends in heartbreak, with 43% of people admitting they've lost irreplaceable photos simply due to poor management.
The Real Payoff of a Good Photo System
Beyond just preventing the nightmare of losing everything, a well-organized collection offers some fantastic, tangible rewards. Imagine being able to find that one specific photo of your child’s first steps or a treasured holiday memory without scrolling endlessly through thousands of pictures. It completely changes the game, turning your photo library from a source of stress into a genuine source of joy.
An organized system lets you:
- Find any photo you’re looking for in a matter of seconds.
- Protect your most precious memories from a hard drive crash or an accidental "delete all."
- Effortlessly share your family’s story with relatives near and far, and with generations to come.
- Turn your curated collection into meaningful gifts and projects.
Once your photos are in order, you can finally start using them! An organized library is the first step toward making some of the best personalized photo gifts that transform your favorite moments into something truly special.
Ultimately, taking the time to organize your photos is a true investment in your family's history. It’s how you ensure that the moments you captured with so much love aren't just lost in the digital clutter, but are preserved, celebrated, and enjoyed for years and years to come.
First Steps to Conquering Photo Clutter
Before you can even think about sorting, you need to know exactly what you're working with. This first phase is all about the hunt—tracking down every single family photo from every forgotten corner and bringing them all together. Think of it as creating a central "staging area" for your entire collection.
I'm not going to lie, this is probably the most grueling part of the whole project, but it's absolutely essential. If you do a thorough sweep now, you won't have to repeat this massive task later, and you can rest easy knowing no precious memories were left behind.
The Great Digital Photo Hunt
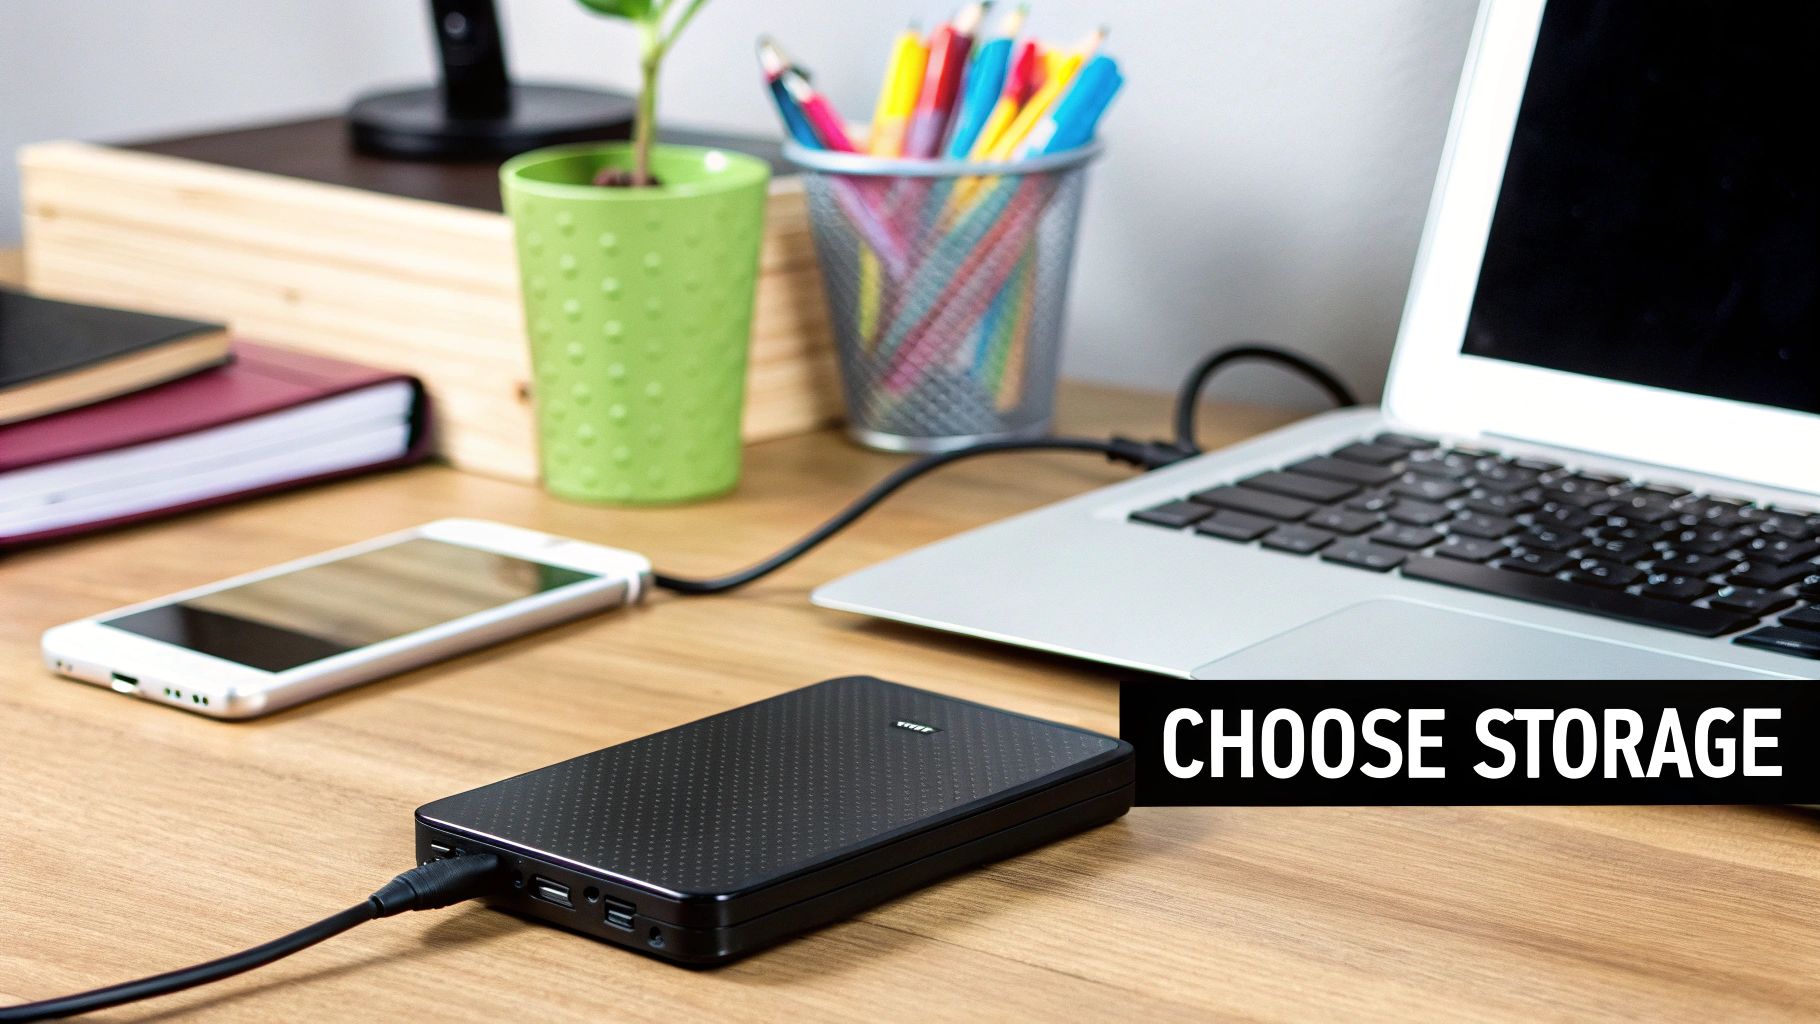
Let's face it, your digital photos are probably scattered everywhere. The goal here is to methodically track down every last one and pull them into a single, dedicated folder on your main computer or, even better, an external hard drive with plenty of room to spare.
You'll need to check all the usual (and unusual) hiding spots:
- Current and old smartphones: Yes, that means digging that old Samsung out of the junk drawer.
- Laptops and desktop computers: Be sure to check your "Pictures" folder, desktop, and downloads folder on any machine you've used.
- Cloud services: Log into Google Photos, iCloud, Dropbox, and Amazon Photos and download your complete archives.
- External hard drives and USB sticks: It's time to gather all those random storage devices you've collected over the years.
- Social media accounts: Download your data from Facebook and Instagram. The quality might not be print-worthy, but these photos can be invaluable for filling in gaps in your timeline.
My favorite tip: When you plug in a phone or an SD card, try not to just drag and drop the files. Use your computer’s built-in import tool, like the Photos app on a Mac or Windows. It's much smarter and can often spot duplicates and organize files by the date the photo was actually taken, not the date you moved it.
At this stage, your master folder is going to look like a complete disaster. It'll be a jumble of duplicates, blurry outtakes, and random screenshots. That’s not just okay; it's expected. Resist the temptation to start organizing now. Just focus on gathering.
Gathering Your Physical Prints
While you’re rounding up all the digital files, start the physical search, too. Your mission is to collect every printed photo, slide, and negative you own into one physical space.
Get ready to check everywhere: under the bed in shoeboxes, inside those old magnetic photo albums, in frames on the wall, and deep in the storage bins out in the garage.
Creating one big pile of physical photos achieves the same thing as your digital folder. It gives you a real, tangible sense of the project's scope and makes the next steps—sorting, culling, and scanning—feel much more manageable. You're building the foundation for an archive that will last for generations.
The Art of Culling Your Photo Collection
Okay, you've gathered everything into one place. Now for the most freeing part of this entire process: culling. This is where you'll turn that digital mountain of chaos into a curated collection of your family's best moments. Don't think of it as erasing memories—think of it as letting the truly great ones shine.
Trust me, this step is absolutely essential. With digital cameras and smartphones, it's free to snap away, which is why the average family is sitting on over 250,000 digital photos. It's no wonder we all feel paralyzed. But here’s the good news: photo organizing pros find that over 50% of those images are just duplicates, blurry shots, or random screenshots. You can see more on these photo organizing trends on chaostomemories.com.
Your Guilt-Free Deletion Checklist
To make this less emotional and more of a straightforward task, you need a set of rules. Be ruthless. Your future self will thank you for it.
The best way to start is by tackling the obvious junk first. It’s an easy win that clears out a surprising amount of clutter right off the bat.
- Duplicates: You only need one. While there's software for this, a quick manual scan can work wonders.
- Blurry or out-of-focus shots: If you can't tell what it is, it's gone. No exceptions.
- Accidental screenshots: We all do it. That screenshot of your lock screen or a random text message? It can go.
- Similar burst shots: You don't need 15 nearly identical pictures of the same pose. Find the one where everyone’s eyes are open and they look genuinely happy, and delete the rest.
The "Best of the Batch" Method
When you find a series of photos from the same moment, resist the urge to keep them all. Your job is to pick the single best one—the shot with the genuine smile, the perfect lighting, and the sharpest focus. This one simple trick will dramatically shrink your collection.
Making the Tougher Calls
Once you've cleared out the easy stuff, you'll be left with photos that are technically "good" but maybe not essential. This is where you step into the role of curator for your family's story. For each photo, ask yourself: does this truly add to the memory of that day?
Think about which photos you'd want to stumble upon in 20 years. Which ones would you be proud to put in a photo album or turn into a special keepsake? A truly great photo, for example, can become a unique personalized photo keychain that keeps a special memory with you every day.
Culling isn't just about deleting; it's about intentional selection. It's the process of deciding what really matters, turning your cluttered archive into a highlight reel of your family’s most precious moments. This is what makes finding, sharing, and truly enjoying your photos a pleasure instead of a chore.
Building a Simple Digital Filing System
Now that you’ve sorted through your photos, it’s time to give them a permanent home. The goal here isn't to create some overly complex system you'll abandon in a month. It's about building a simple, logical structure that you can actually stick with for years to come.
The best place to start is with a single master folder. Let’s just call it "Photos." Inside that main folder, the first thing you'll do is create a separate folder for each year: "2022," "2023," "2024," and so on. Right away, this brings a clear, high-level order to what was probably a chaotic mess. It's the first big win in taming your collection.
Drill Down with Monthly or Event Folders
Once you have your yearly folders, you can decide how to organize the photos within each year. There are two great ways to approach this, and you can even mix and match.
A lot of people find that organizing by month works perfectly for all those everyday candid shots. The trick is to name the folders with the number first so they stay in order: 01-January, 02-February, 03-March. This keeps everything neat and chronological.
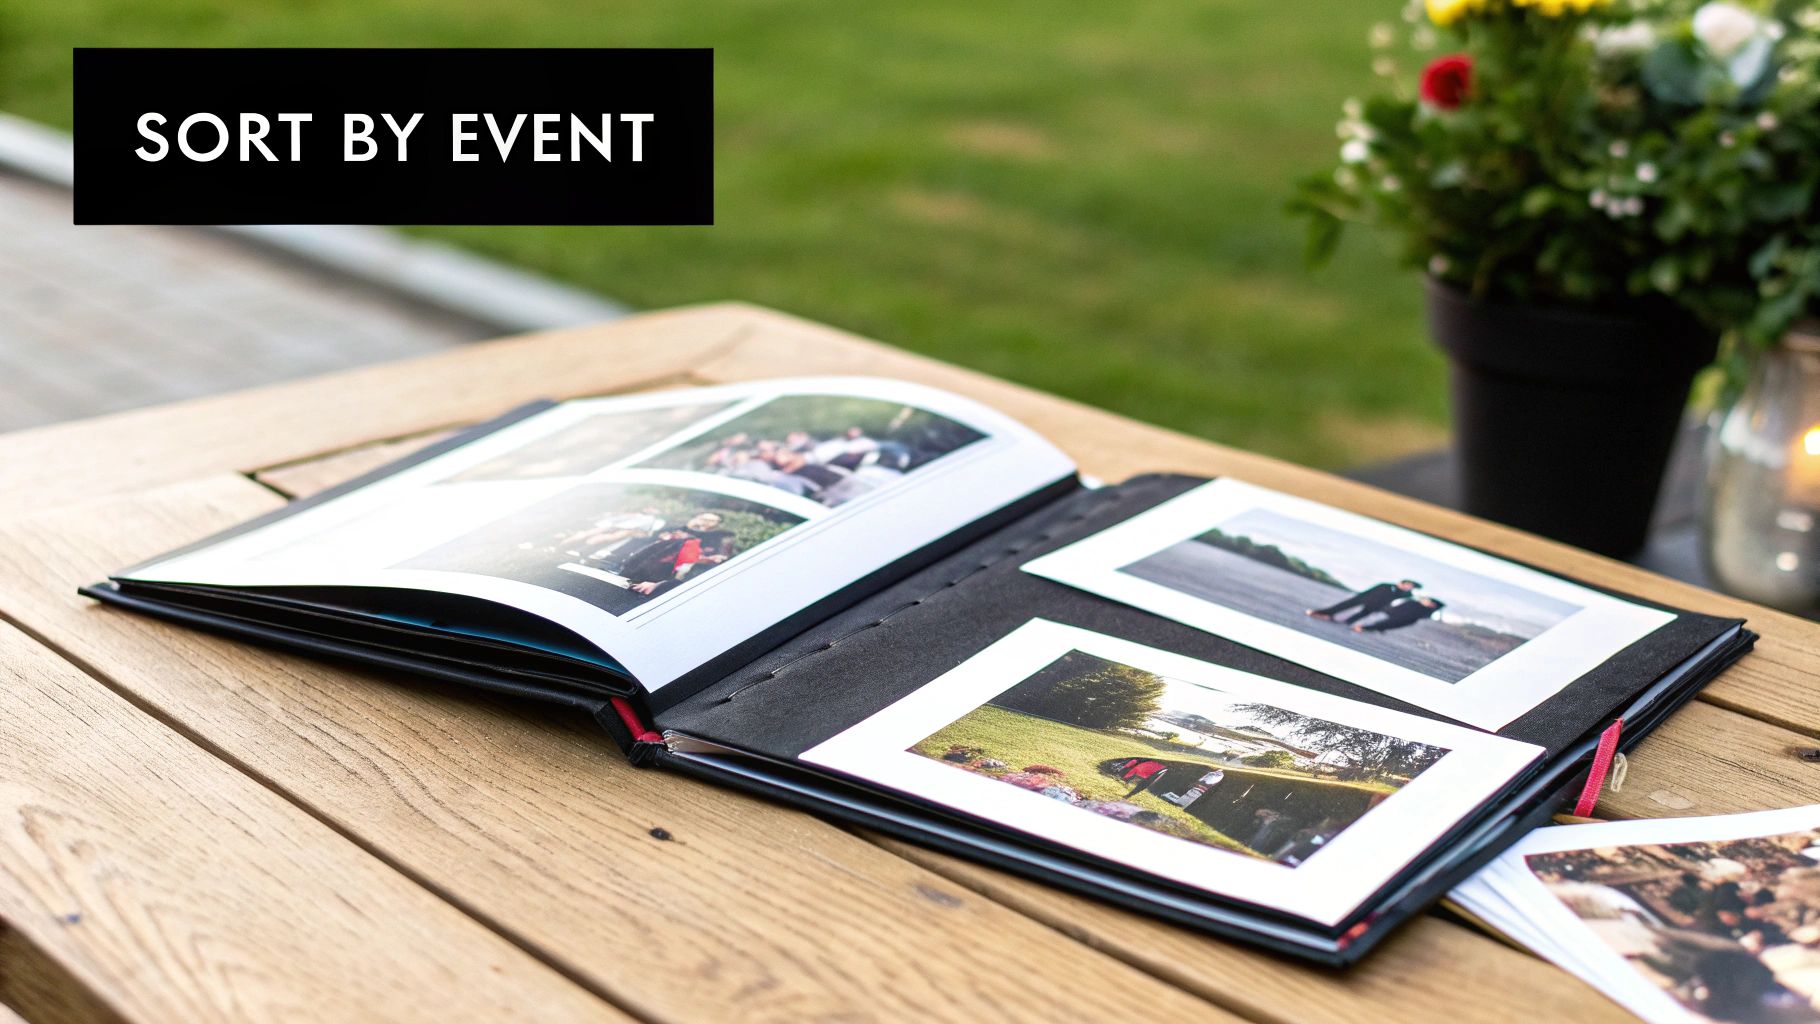
For bigger moments, like a family trip or a birthday bash, creating a specific event folder makes more sense. Inside your "2023" folder, you might create a folder called Summer Vacation - Italy or Leo's 5th Birthday. This way, the folder structure itself tells the story of your year.
Thinking about the best structure for you? Here's a quick comparison to help you decide.
Digital Photo Organization Methods
| Feature | Chronological (Year > Month) | Event-Based (Event > Year) |
|---|---|---|
| Best For | Everyday photos, consistent shooters | Vacations, holidays, special occasions |
| Ease of Finding | Excellent for finding photos from a specific time | Excellent for finding photos from a specific event |
| Setup Time | Quick and straightforward | Requires a bit more thought per event |
| Example | Photos > 2023 > 07-July |
Photos > 2023 > Summer Vacation - Italy |
Ultimately, many people end up using a hybrid approach. You can have your monthly folders for the day-to-day snaps and then create special event folders for the big stuff right alongside them. It’s your system, so make it work for you.
Adopt a Smart File Naming Convention
This next step is a game-changer. Renaming your actual photo files from something generic like IMG_5829.jpg or DSC_0134.jpg makes your entire collection searchable. By adding context directly into the file name, you’re not just relying on folders to know what a picture is.
The absolute best way to do this is with a date-first format: YYYY-MM-DD_Event-Description.jpg.
- YYYY-MM-DD: This is the magic part. It forces all your photos to sort perfectly by date, no matter what.
-
Event-Description: Add a short, sweet description like
Beach_DayorFirst_Day_of_School.
This simple change makes finding anything a breeze.
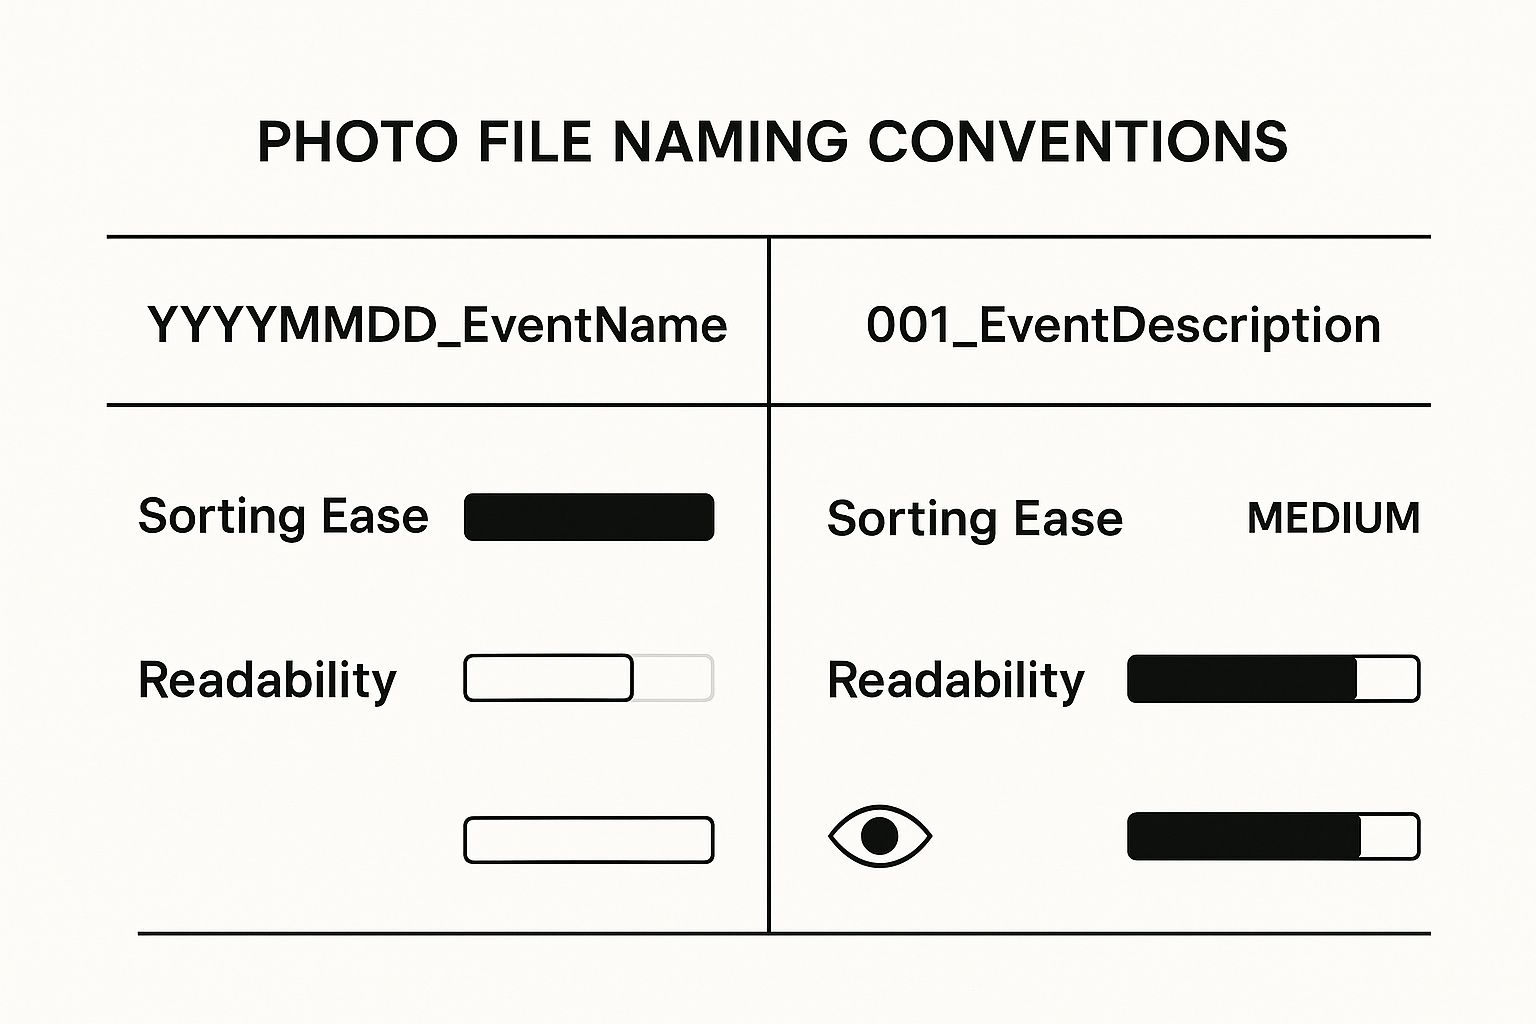
As you can see, the YYYYMMDD format is a clear winner for automatic sorting, which is exactly what you need to keep things tidy long-term.
The Power of Tagging Your Photos
The final layer of organization is tagging, also known as adding keywords. Most photo software, even the free ones that come with Windows and macOS, lets you do this. This is where you can add names (Grandma Sue, Leo), places (Home, Park), and even activities (Birthday, Holiday).
Tagging is like building a personal search engine for your memories. Want to pull up every photo you have of your daughter at the park? Just search for "Leo" and "Park." It's this last step that truly transforms your collection from a set of organized folders into a living, searchable archive of your family's story.
Once your photos are beautifully organized, you can start thinking about fun ways to enjoy them. If you're looking for inspiration, check out these wonderful memory keepsake ideas to turn those precious moments into something tangible.
Digitizing Your Physical Photos and Prints

With your digital photos all tidied up, it’s time to bring your physical treasures into the fold. Converting old prints, slides, and negatives into digital files is the only way to truly protect them from fading, water damage, or getting lost forever. Let's make sure those foundational family memories don't just crumble away in a shoebox.
The great news? Getting this done is easier and more affordable than ever. You’ve got a few different paths you can take, from professional-quality options to ones that are just plain fast and easy.
Choosing Your Scanning Method
For the absolute best results, a dedicated flatbed scanner is still the top dog. These machines capture incredible detail at high resolutions, measured in DPI (dots per inch). This is a must if you ever want to print a large copy of an old photo. As a rule of thumb, aim for at least 600 DPI for standard prints. For tiny old photos or negatives, you’ll want to go even higher, like 1200 DPI or more.
But what if you just want to get it done quickly? Modern mobile scanning apps are surprisingly good. Apps like Google PhotoScan or Microsoft Lens use your phone’s camera to digitize prints and are fantastic for churning through a big stack of photos. The quality isn't quite on par with a flatbed scanner, but for viewing on a screen or sharing on social media, it's often more than enough.
Pro Tip: Before you scan anything, take a second to gently wipe each photo with a clean, dry microfiber cloth. A little bit of dust on the print becomes a very noticeable speck on the digital image, and this simple step will save you a ton of time editing things out later.
Preparing for an Efficient Scanning Session
Trust me, the secret to a painless scanning project is all in the prep work. If you just sit down with a giant, disorganized box of photos, you'll burn out fast. A little bit of sorting beforehand makes all the difference.
- Group by Size: Put all your 4x6 prints in one pile, 5x7s in another, and so on. This means you won’t have to constantly fiddle with the scanner settings for every single picture.
- Batch by Event or Year: If you can, group photos that belong together. All the pictures from that one family vacation or a specific holiday go in a pile. This makes naming and filing the digital copies a breeze.
Once you've scanned a batch, they're ready to join the rest of your digital collection. Just move the new files into the folders you already created (e.g., 1985 > Summer at the Lake).
Rename them using the same YYYY-MM-DD_Event-Description.jpg system you've been using, even if you have to make an educated guess on the exact date. For more tips on handling these delicate items, our guide on how to preserve old photos is a great resource.
By following these steps, you finally merge your entire family history—both old and new—into a single, safe, and beautifully organized archive.
You’ve put in all the hard work to gather, sort, and organize your family photos. Now, the final—and most crucial—step is making sure they’re protected forever. A perfectly organized photo library means nothing if it vanishes because of a crashed hard drive, an accidental click of the delete button, or a disaster like a fire or flood.
This is where a solid backup plan isn't just a nice-to-have; it's non-negotiable.
The best way I’ve found to tackle this is with the industry-standard 3-2-1 rule. It’s a straightforward, memorable framework that makes your photo collection practically indestructible. The real goal here is to set up a system that runs on its own, so you can just set it and forget it.
The Simple 3-2-1 Backup Rule
This method is all about building in redundancy. The idea is that even if one or two copies of your photos are somehow lost, you still have a secure version you can fall back on.
Here’s how it breaks down:
- Three Copies: You need a total of three copies of your entire photo library. That’s your primary copy (the one on your computer) plus two additional backups.
- Two Different Media Types: Don't put all your eggs in one basket. Your backups should live on at least two different kinds of storage media—for instance, an external hard drive and a cloud backup service. This way, if one type of media fails or becomes obsolete, you're still covered.
- One Off-Site Copy: At least one of your backup copies has to be stored in a completely different physical location. This is your ultimate failsafe against a house fire, flood, or theft.
Please don't make the common mistake of thinking a single external hard drive sitting next to your computer is a real backup. If something happens to your home, you could easily lose both your main computer and your only backup in one fell swoop.
That off-site copy is the most critical piece of this whole puzzle. Thankfully, it's also the easiest part to automate these days.
Cloud backup services like Backblaze or iDrive make this incredibly simple. For a small monthly fee, they will continuously and automatically back up your entire computer to the cloud. This gives you that essential off-site protection without you ever having to lift a finger.
Consider this: the number of photos taken globally is projected to hit a staggering 2.1 trillion in 2025. That's a huge jump from 660 billion just a decade ago. With this explosion of digital memories, having a bulletproof backup system is more important than ever. If you're curious, you can learn more about these photo trends and statistics at photutorial.com.
By pairing a local external hard drive with an automated cloud service, you’ve nailed the 3-2-1 strategy and can finally have total peace of mind.
Common Questions About Photo Organization
Even with the best intentions and a solid plan, you're bound to run into a few questions when you start a massive photo organization project. It happens to everyone. Let's walk through some of the most common hurdles I see people face, so you can keep moving forward without losing steam.
One of the first things people always ask is, "Seriously, how long is this going to take?" And the honest answer is, it really depends on what you're starting with. If you have a decent-sized collection of around 10,000 photos, you could probably knock it out over a few dedicated weekends. But if you're staring down decades of digital files and shoeboxes full of prints, it's better to think of it as a long-term project you can chip away at over several months.
The real secret is consistency, not speed. I've found that setting aside just 20-30 minutes an evening to sort through one folder is way more effective than trying to power through it all at once. Small, steady progress keeps you from getting overwhelmed and makes the whole thing feel manageable.
Choosing the Right Tools
Another big question is about software. Do you really need to buy an expensive program? Not at all. For most people, the Photos apps that come standard on Windows and macOS are more than capable of handling basic sorting, light editing, and tagging.
That said, if you're a hobbyist photographer or just want more control over editing and organization, investing in a tool like Adobe Lightroom can be a game-changer. For a deeper dive into different approaches for both digital and physical pictures, it can be helpful to explore some of the best ways to organize photos and find a method that clicks for you.
How Do I Keep Up with New Photos?
This is probably the most critical question. After all that hard work, how do you prevent the mess from creeping back in? It all comes down to building a simple habit you can stick with.
- Schedule a Monthly Photo Check-in: Put it on your calendar! Pick one day a month to go through the new photos on your phone and camera.
- Delete Ruthlessly (and Immediately): As you go through the month's shots, get rid of the blurry ones, the duplicates, and the ones you just don't love. Be selective.
-
File and Tag Right Away: Move the keepers into your main folder system (like
2024 > 10-October) and add a few important tags while the details are still fresh in your mind.
This little monthly routine probably won't take more than an hour, but it’s the key to keeping the chaos at bay for good. This kind of thoughtful organizing is especially important when you're working with photos for a tribute or memorial. For anyone facing that difficult task, knowing how to handle these images is a crucial part of respectfully remembering deceased loved ones.
At Hidden Forever, we believe your most precious memories deserve to be held close. Our handcrafted projection jewelry turns your favorite photos into beautiful, wearable keepsakes, so you can carry your story with you. Discover the collection at https://hiddenforever.com.