

There's nothing quite like making your own charm bracelet. All you really need are a few simple tools, a chain you love, and a handful of charms that mean something to you. The whole process is about laying out your design and then using a pair of pliers to attach your charms with tiny metal loops called jump rings. It’s a wonderfully creative project that lets you turn your own memories into a piece of art you can wear.
Why Handmade Charm Bracelets Are So Meaningful
There's a certain magic that comes from creating something with your own two hands. A handmade charm bracelet isn't just another accessory you pick up at a store; it's your story, told through a collection of moments, passions, and relationships that you've personally brought together. Each charm you choose is more than just a trinket—it's a symbol of a milestone, a reminder of an inside joke, or a token of a cherished memory.
This deep desire for personalization is a huge part of why this craft is taking off. The global market for beaded and charm jewelry is absolutely booming, which shows just how much people value accessories that tell a story.
Bracelets are really at the forefront of this trend. The market is projected to skyrocket from USD 6.9 billion in 2024 to nearly USD 11.7 billion by 2030. This incredible growth is all thanks to people like us who want to mark our personal journeys with custom charms and meaningful engravings. You can see the full breakdown in the market analysis on Grand View Research.
Crafting a Personal Narrative
When you decide to make your own charm bracelets, you're doing more than just putting pieces together—you're stepping into the role of an artisan for your own life story. You get total creative freedom to build something that is truly, uniquely yours.
Just think about the possibilities:
- A travelogue on your wrist: A tiny Eiffel Tower charm could commemorate that unforgettable trip to Paris, or a delicate seashell could remind you of a perfect beach vacation.
- A tribute to your family: You could use the birthstone charms for each of your loved ones, maybe paired with their initials for an extra personal touch.
- A celebration of your hobbies: Are you a bookworm? Add a tiny book. A musician? A musical note. Or for the animal lover, a simple paw print charm says it all.
This kind of detail is what transforms a simple accessory into a treasured heirloom. Honestly, the process of creating it is half the fun, and it makes the finished bracelet feel so much more valuable than anything you could ever buy off the shelf.
If you want to explore more about what makes handcrafted pieces so special, take a look at our guide on what is artisan jewelry. By thoughtfully choosing every single element, you’re not just making a bracelet; you're creating a conversation starter that’s overflowing with meaning.
Gathering Your Essential Tools and Materials
Before we dive into creating your charm bracelet, let's get your workspace set up. Trust me, having everything you need within arm's reach makes the whole process a lot more fun and way less frustrating. Think of it like cooking—you wouldn't start a recipe without prepping your ingredients first!
Getting your supplies in order turns a potentially tricky task into a relaxing, creative flow. The quality of what you choose here really does impact the look and longevity of your final piece.
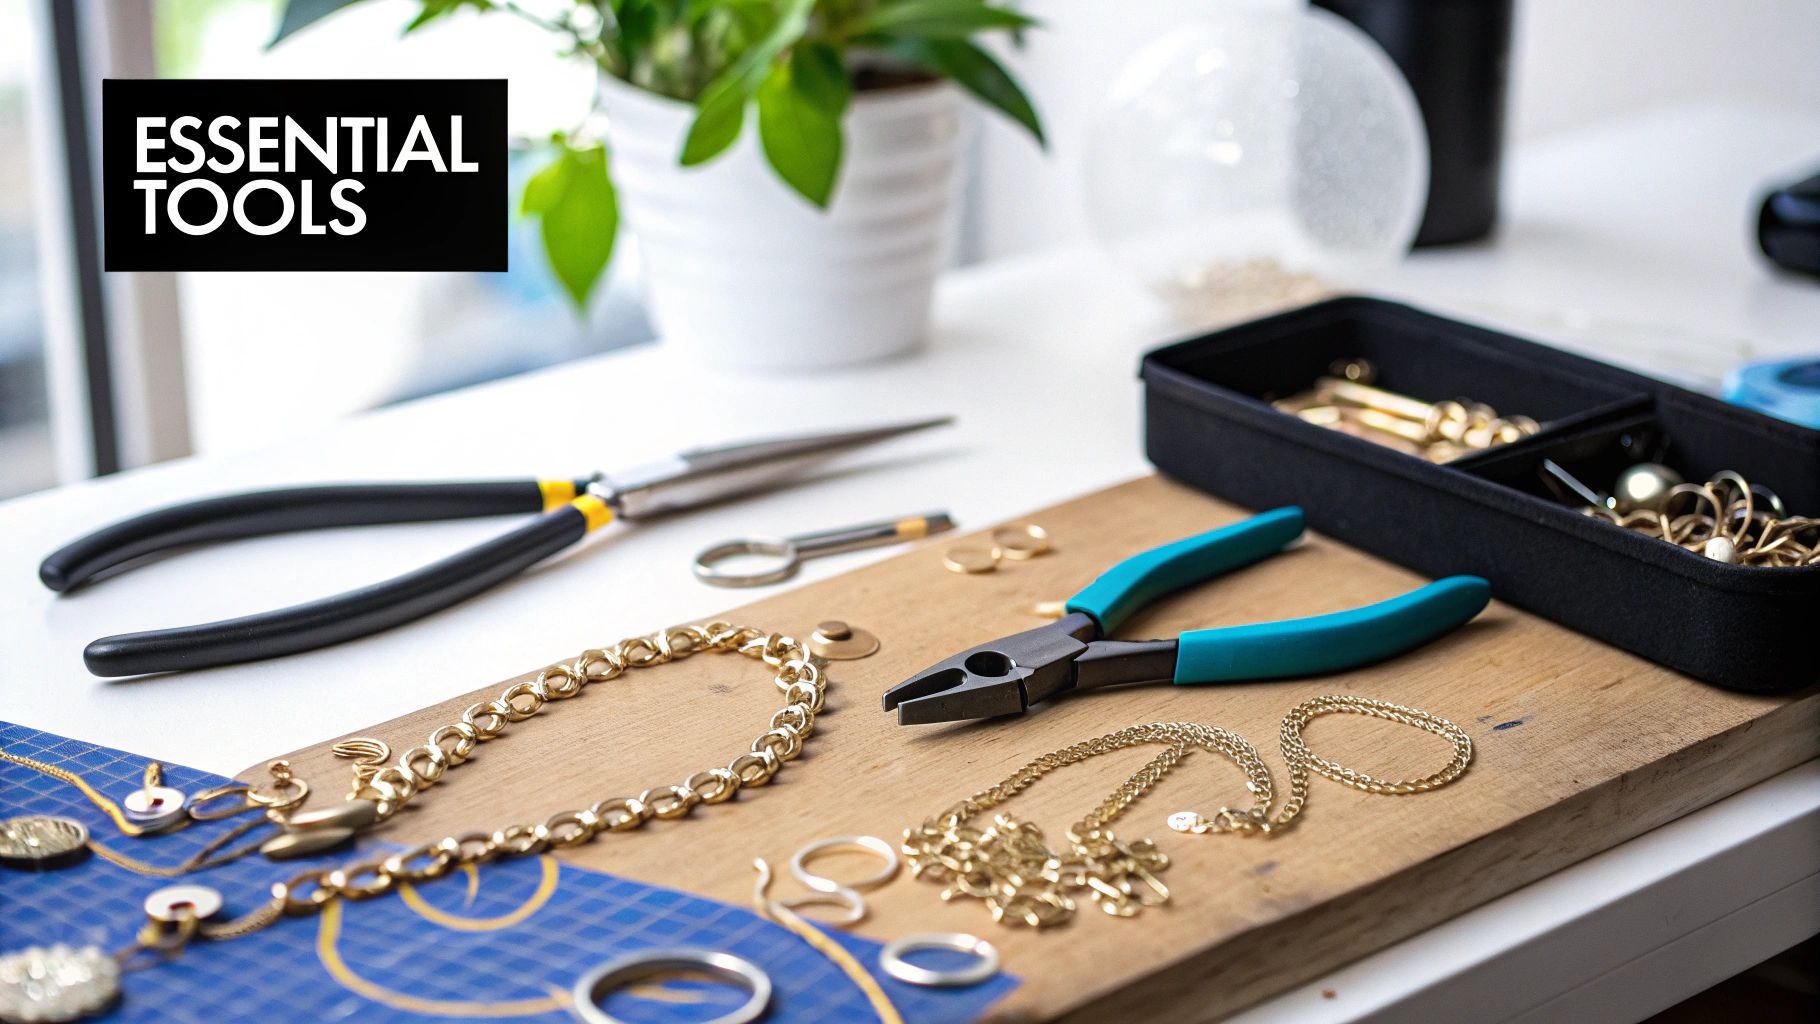
So, let's walk through exactly what you'll need. We’ll start with the must-have tools that will quickly become your go-to helpers for any jewelry project.
Your Charm Bracelet Making Toolkit
Here’s a look at the essential tools and materials for your project and what each one does.
| Item | What It's For | A Quick Tip |
|---|---|---|
| Needle-Nose Pliers | Gripping and holding small parts like jump rings. Their fine tips are perfect for precision work. | Get a pair with a smooth inner jaw to avoid scratching your metal components. |
| Round-Nose Pliers | Creating perfectly round loops in wire. Essential if you're making your own beaded charms. | The key is their conical shape. The closer to the tip, the smaller the loop you can make. |
| Wire Cutters | Snipping wire, headpins, and chain cleanly. A good, sharp pair prevents jagged, messy ends. | Always point the cut end away from your face! Those little bits of wire can fly. |
| Bracelet Chain | The foundation of your bracelet. Choose from cable, curb, or rolo styles. | Make sure the links are large enough to fit your jump rings through. |
| Jump Rings & Clasp | The connectors that hold everything together and secure the bracelet on your wrist. | For security, a lobster clasp is a great choice. For a bit of flair, try a toggle clasp. |
| Charms | The fun part! These are the decorative elements that tell your story. | Pick charms that are meaningful to you—this is where your bracelet gets its personality. |
This toolkit covers the basics for most charm bracelet designs. Once you get the hang of it, you can always expand your collection with more specialized tools.
More on Your Core Materials
With your tools ready, it's time for the best part: picking out the pieces that will bring your bracelet to life.
The bracelet chain is your starting point. Popular styles include the classic cable, the chunkier curb, and the elegant rolo chain. The material is just as important. Sterling silver is beautiful but can tarnish over time, whereas stainless steel is a fantastic, durable, and budget-friendly option that won't rust.
Next up are your jump rings and a clasp. Jump rings are the tiny metal circles that connect your charms to the chain. A good-quality lobster clasp is a secure and popular choice, but a toggle clasp can add a really nice decorative touch. If you're looking for more ideas, checking out how to make your own necklace can offer some great inspiration for different types of findings.
And of course, the charms! This is where you can let your creativity run wild. From enamel symbols and sparkling birthstones to quirky vintage finds, the possibilities are endless. The only rule is to pick pieces that you love and that tell your unique story.
Designing Your Story, One Charm at a Time
Before you even think about picking up your pliers, the best charm bracelets start with an idea. This is the fun part, where you get to be a storyteller. Think of each little charm as a word, and the bracelet as the sentence that tells your unique story.
The whole DIY charm bracelet trend is exploding for a reason—people love making something that's truly theirs. It's part of a huge shift towards personalization in jewelry. In fact, the global jewelry market is expected to jump from USD 370 billion in 2025 to a massive USD 450 billion by 2029, and customizable bracelets are a big driver of that growth. If you're a data nerd like me, the latest bracelet market report from cognitivemarketresearch.com has some fascinating insights.
So, let's get creative and map out a theme that really means something to you.
Finding Your Central Theme
Every good story has a main idea, and your bracelet should too. What story are you trying to tell? Is it about a specific time in your life, or is it a celebration of everything that makes you who you are?
If you're stuck, here are a few themes I've seen turn out beautifully:
- A Travelogue Bracelet: This is a classic. Grab a charm for every adventure—a tiny gondola for Venice, a maple leaf for a trip to Canada, a little sun for that amazing beach vacation. Each one becomes a tiny, wearable souvenir.
- A Family Tree Bracelet: I love this idea. You can use birthstone charms for each family member, or little initial charms. It turns into a sparkling, deeply personal tribute to the people you love most.
- A Hobby and Passion Bracelet: What do you love to do? A tiny book if you're a reader, a musical note for a musician, a paw print for the animal lover. It's a great way to wear your heart on your sleeve, literally.
Picking a theme makes your bracelet feel cohesive and intentional. It’s the difference between a random assortment of charms and a curated collection that tells a story.
Sketching and Balancing Your Layout
Got your theme? Great. Now it's time to think about the layout. You don't need to be a professional artist for this—a quick sketch on a piece of paper is perfect. Just lay your chain flat and start arranging your charms to see how they interact.
The key here is visual weight. You want to create balance. Try not to put all your big, chunky charms on one side. Mix them in with smaller, more delicate ones to create a nice flow. Spacing is just as important; you don't want everything bunched up. I usually suggest placing a "statement" charm every inch or so and then filling the gaps with smaller accents.
Pro Tip: Want to create a design that really pops? Build it around a central focal point. A personalized photo projection charm is perfect for this. Because it holds a secret memory inside, it naturally becomes the heart of your story, drawing the eye and making people curious.
By giving one charm the starring role, you give your bracelet a clear anchor. If you need some help getting started, our guide on designing your own bracelet charm has some great ideas. A little planning now ensures your finished bracelet is balanced, beautiful, and packed with meaning.
Assembling Your Bracelet with Confidence
Alright, you've got your design sorted and all your beautiful materials laid out. Now for the fun part—bringing your bracelet to life! This is where your planning pays off, and trust me, even if you've never made jewelry before, you can do this. The techniques are straightforward, and that feeling you get when you master them is fantastic.
It all comes down to being a little patient and precise. We're going to kick things off with the single most important skill you'll learn: how to properly open and close a jump ring. These little metal circles are the glue that holds your entire bracelet together, so getting this right is key to making sure your charms stay put.
This whole process flows from a solid plan. You start with an idea, sketch it out, and then lay everything out before you ever pick up a tool.
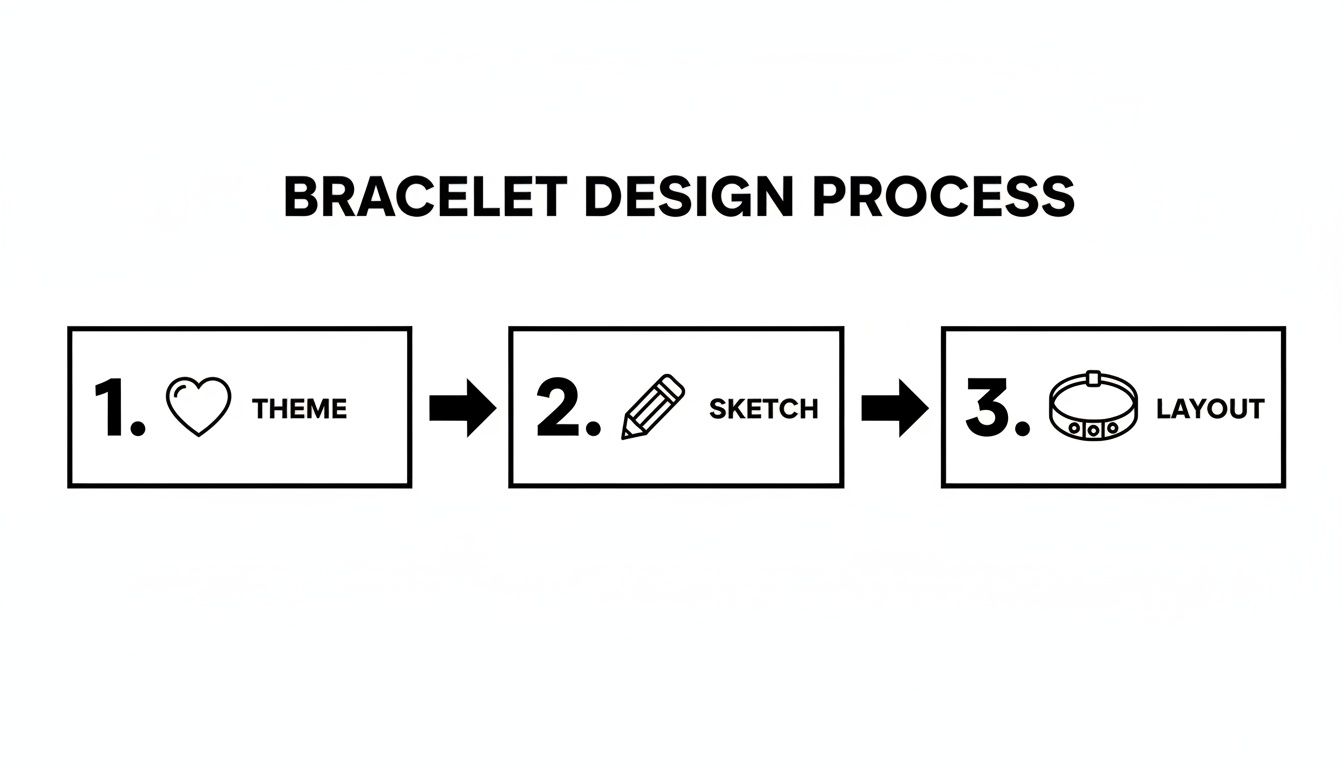
Having this roadmap makes the assembly stage so much smoother and more enjoyable.
Mastering the Jump Ring Twist
The number one mistake I see beginners make is pulling a jump ring apart, widening it into a 'C' shape. This completely ruins the tension in the metal and makes it almost impossible to close again without a weak spot or an ugly gap. The real secret is the twist method.
Here’s the right way to do it:
- Get a Good Grip: Hold the jump ring with two pairs of needle-nose pliers. You want the opening of the ring facing up, at the 12 o'clock position. Grip each side of the opening, at roughly 3 o'clock and 9 o'clock.
- Twist, Don't Pull: Now, gently twist your wrists in opposite directions. Push one hand away from you and pull the other toward you. The ring will open sideways, but its circle shape will stay perfectly intact.
- Attach and Reverse: Slide your charm onto the ring, then slide the ring onto a link of your bracelet chain. To close it, just reverse the twisting motion. You'll feel—and sometimes even hear—a tiny "click" as the ends meet flush.
This simple move creates a secure, professional-looking connection every single time. No more lost charms! If you're looking for more hands-on tips, you'll find plenty of inspiration as you create your own jewelry with some of our other guides.
Attaching Charms and Clasps
Now that you're a jump-ring pro, you can start adding your charms based on the layout you planned earlier. Work your way around the chain, attaching each one. A good rule of thumb is to space them out evenly to give the bracelet a balanced feel. You don't want to overcrowd it—leaving a bit of breathing room lets each charm hang nicely and get the attention it deserves.
With the charms on, the last piece of the puzzle is the clasp. A lobster claw clasp is a classic, super-secure option, while a toggle clasp can add a bit of decorative flair.
To attach it, use one jump ring to connect the clasp to one end of the bracelet. On the other end, use a jump ring that's slightly larger or made from a heavier gauge wire. This gives the clasp a sturdy loop to hook into and makes the bracelet much easier to put on and take off.
Adding Extra Flair with Beaded Dangles
Want to bring in a little pop of color or some interesting texture? Wire-wrapped bead dangles are an easy and beautiful way to do it. You just need a few beads, some headpins (which are just thin wires with a flat head on one end), your round-nose pliers, and wire cutters.
Just slide a bead onto a headpin. Grab your round-nose pliers and bend the wire at the top to create a small loop. For a really clean look, wrap the tail of the wire around the base of the loop a couple of times before snipping off the excess. Just like that, you have a custom dangle you can attach anywhere on your bracelet with a jump ring.
Once you get the hang of assembling a charm bracelet, you might find yourself inspired to make your own unique items in other crafts. Many of the skills, like patience and an eye for detail, carry over into all sorts of creative hobbies.
Perfecting the Finishing Touches and Styling
You’ve built your bracelet, but the final details are what truly transform it from a craft project into a professional-looking piece of jewelry. This is where you polish your work, ensuring it’s not just beautiful but also durable enough for daily life.
The first thing I always do is a thorough quality check. Seriously, don't skip this. Gently tug on every single charm and link. Run your fingers over the jump rings to make sure they're perfectly closed with no gaps or sharp edges. The last thing you want is to lose a precious charm because of a loose connection. Give the clasp a few good opens and closes to make sure it's secure and functions smoothly.
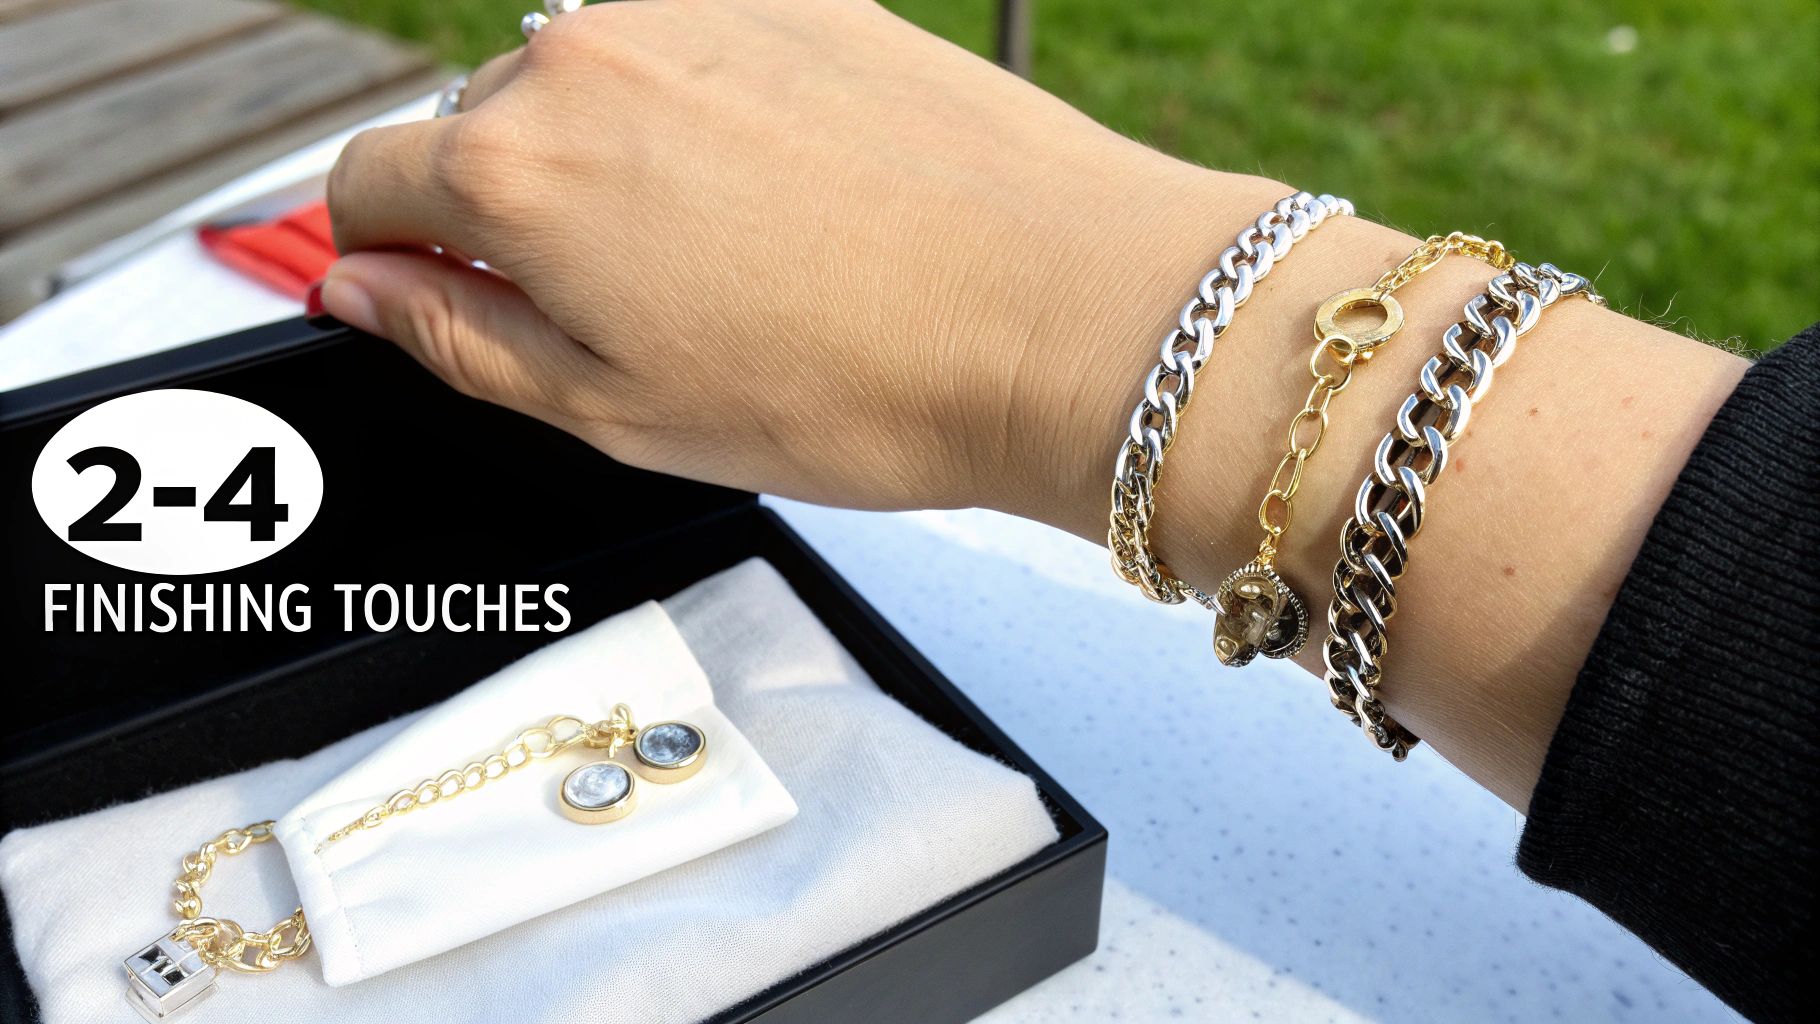
If you've used a lot of heavy or sentimental charms, I highly recommend adding a safety chain. It’s just a small, delicate chain that connects the two ends of the bracelet right next to the clasp. Think of it as insurance—if the main clasp ever pops open, the safety chain will catch your bracelet before it falls off.
Styling Your Custom Creation
Alright, now for the fun part: showing it off! The best thing about a piece you’ve made yourself is how perfectly it can reflect your personal style.
You can go one of two ways here, and there’s no wrong answer:
- The Standalone Statement: Let your charm bracelet be the star. If it's full of bold, meaningful charms, it deserves the spotlight. Wearing it alone on your wrist makes it a true focal point and conversation starter.
- The Perfect Stack: Layering bracelets is a huge trend, and your custom piece will fit right in. Mix and match it with other bracelets you love—a simple beaded strand, a sleek metal cuff, or even your favorite watch.
The secret to a great stack is all about balance. Don't be shy about mixing metals like gold and silver for a contemporary, eclectic look. The most interesting stacks look like they've been collected over time, which is exactly the story your handmade bracelet tells.
This desire for personal, wearable stories is a massive driver in the jewelry world. Market analysis shows the global bracelet market is projected to hit an incredible USD 45 billion by 2033. A huge part of that growth comes from the charm bracelet segment, proving that people everywhere love creating jewelry that's uniquely theirs. You can see more data behind this trend on Strategic Revenue Insights.
Caring for Your Handmade Charm Bracelet
You’ve poured so much love and creativity into making this bracelet; now you'll want to keep it looking its best. With just a few simple habits, your handmade piece will stay beautiful for years, preserving the special story it tells.
Proper care really boils down to three things: gentle cleaning, smart storage, and knowing when to take it off. Keep in mind that different materials need slightly different approaches. Sterling silver, for example, can tarnish when it's exposed to air and moisture, while gold-plated items need a much lighter touch to protect their delicate finish.
Gentle Cleaning and Polishing
To keep your bracelet sparkling, a simple, non-abrasive cleaning solution is usually all you need. Just mix a few drops of mild dish soap with some warm water. You can then gently scrub the chain and charms with a soft-bristled toothbrush, rinse everything thoroughly, and pat it completely dry with a lint-free cloth.
A soft polishing cloth is your best friend, especially for metals that tend to dull over time. A quick buff now and then will restore that beautiful shine without any harsh chemicals that could damage delicate charms or gemstones.
Special pieces, like a photo projection charm, need a little extra attention. Try to avoid getting the central stone wet. Instead, just wipe it carefully with a dry, soft cloth. This will keep the lens clear and your hidden photo perfectly visible. For a deeper dive, you can learn how to care for sterling silver in our dedicated guide.
Smart Storage and Daily Wear
Where you keep your bracelet when you're not wearing it is just as important as how you clean it. To prevent scratches and annoying tangles, try storing it by itself in a soft pouch or a lined jewelry box. If you have a lot of silver pieces, anti-tarnish bags are a fantastic investment.
Finally, always remember the golden rule of jewelry care: it should be the last thing you put on and the first thing you take off.
- Avoid water: Always remove your bracelet before hopping in the shower, going for a swim, or doing the dishes.
- Steer clear of chemicals: Things like hairspray, perfume, and lotions can cause buildup and damage over time.
- Take it off during activity: It's best to remove your bracelet before exercising or doing any heavy cleaning to prevent snags and breakage.
Following these simple tips will ensure the beautiful piece you worked so hard to make your own charm bracelets with remains a treasured keepsake for a long, long time.
Common Questions About Making Charm Bracelets
Jumping into a new craft always sparks a few questions. When it comes to making your own charm bracelets, you're probably wondering about everything from the best materials to use, to just how many charms is too many. Let's tackle some of the most common things people ask.
One of the first hurdles is picking the right materials to start with. If you're new to this, I always recommend stainless steel for your chains and jump rings. It’s a fantastic choice because it's affordable, super durable, doesn't tarnish, and is hypoallergenic for most people. It's a really forgiving and worry-free material for your first few creations.
How Many Charms Should I Add?
The classic question! While there isn't a single right answer, the goal is to create a look that feels balanced and intentional, not just crowded.
A great rule of thumb is to place one charm every three or four links on a standard cable chain. That kind of spacing lets each charm hang nicely without getting all tangled up. For a typical 7.5-inch bracelet, this usually means about 10 to 15 charms will give you a full, jingly look that isn’t overwhelming.
My best advice? Lay your chain flat and place your charms alongside it before you start attaching anything. This little mock-up lets you see exactly how it will look and adjust the spacing until it feels just right.
Where Can I Get Unique Charms?
Finding the perfect charms is half the fun of the project! Your local big-box craft store is a good start, but the real treasures are often found elsewhere.
- Online Marketplaces: I find so many unique pieces on sites like Etsy. You can find everything from handmade artisan charms to cool vintage finds you just won't see anywhere else.
- Local Bead Shops: Don't overlook these gems! The owners usually have beautifully curated collections and are full of amazing advice.
- Flea Markets: If you want a truly one-of-a-kind bracelet, keep an eye out for old pendants, single earrings, or tiny trinkets that can be repurposed into a charming new life.
Once you get the hang of it and start creating pieces you love, you might even think about showing them off. Looking into UGC creator platforms can be a cool way to share your unique designs with a much bigger audience.
Here at Hidden Forever, we believe your most precious memories deserve to be the star of the show. A custom projection photo charm transforms your bracelet from a collection of trinkets into your own personal story. Discover how to capture a memory in a beautiful, wearable piece today.


