How to Tie a Bow Tie: Our Easy Step-by-Step Guide
Tying a bow tie can be a daunting task if you are not familiar with the process. Whether you are getting ready for a formal event or just want to add a touch of sophistication to your outfit, learning how to tie a bow tie is a valuable skill. Follow our step-by-step guide below to master the art of tying a bow tie effortlessly.
Step 1: Drape the Bow Tie
Start by draping the bow tie around your neck with one end slightly longer than the other. The longer end should hang about 1.5 inches lower than the shorter end.
Step 2: Cross the Ends
Cross the longer end over the shorter end, forming a simple cross in front of your neck.
Step 3: Loop the Longer End
Loop the longer end behind the shorter end and bring it up and over, forming a loose knot near your neck.
Step 4: Create the Bow
Fold the shorter end of the bow tie in half to form the front base of the bow. This will create the shape of one side of the bow tie.
Step 5: Form the Second Loop
Take the longer end – the one that was hanging over your shoulder – and double it back on itself to create the loop of the second side of the bow tie.
Step 6: Bring the Loops Together
Bring the two loops together to form a bow shape. Adjust the loops and straighten out the ends to ensure they are neat and symmetrical.
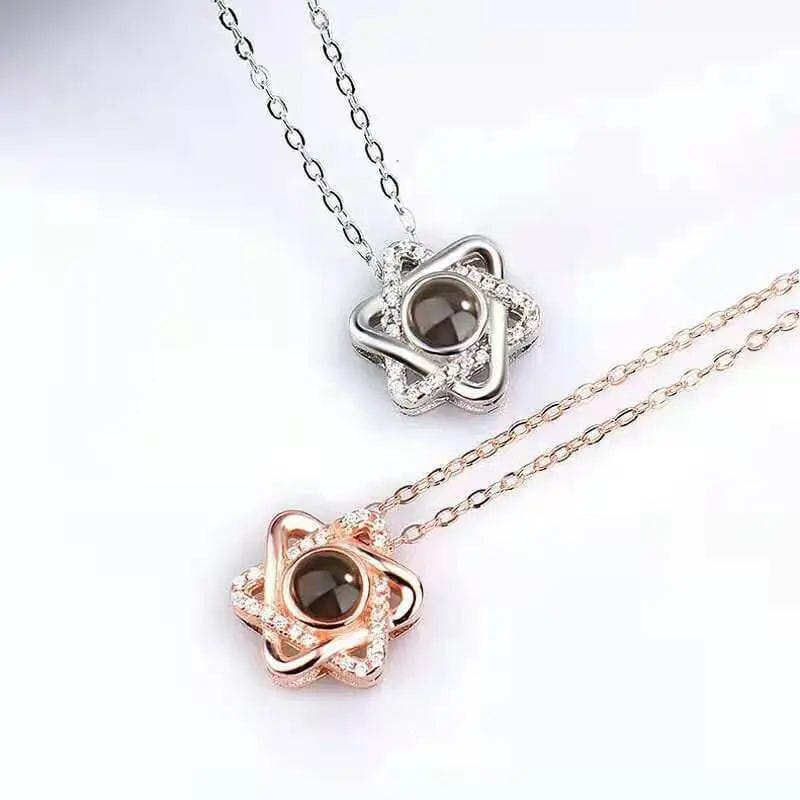
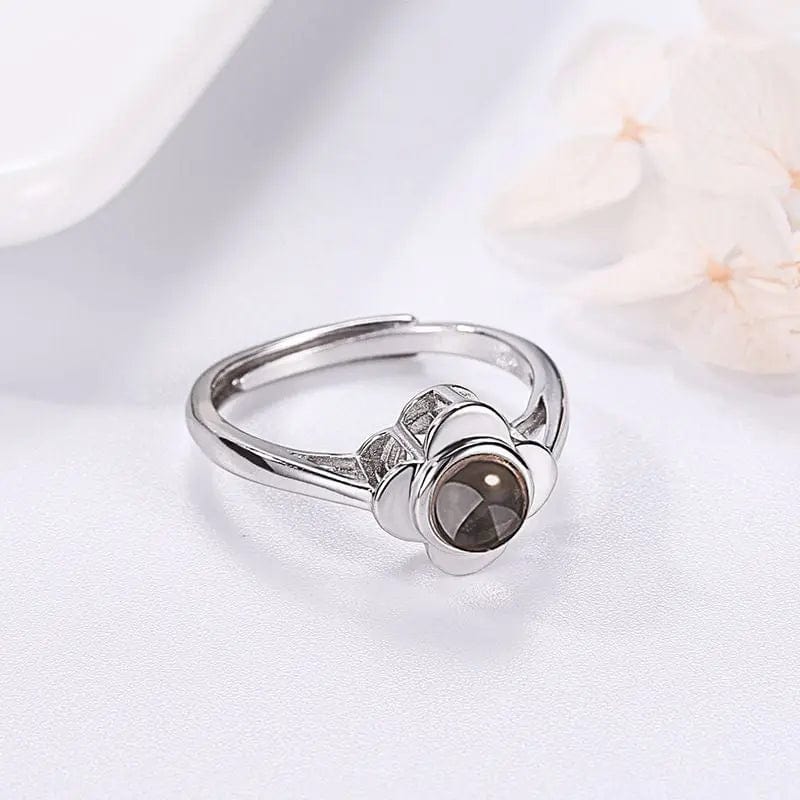
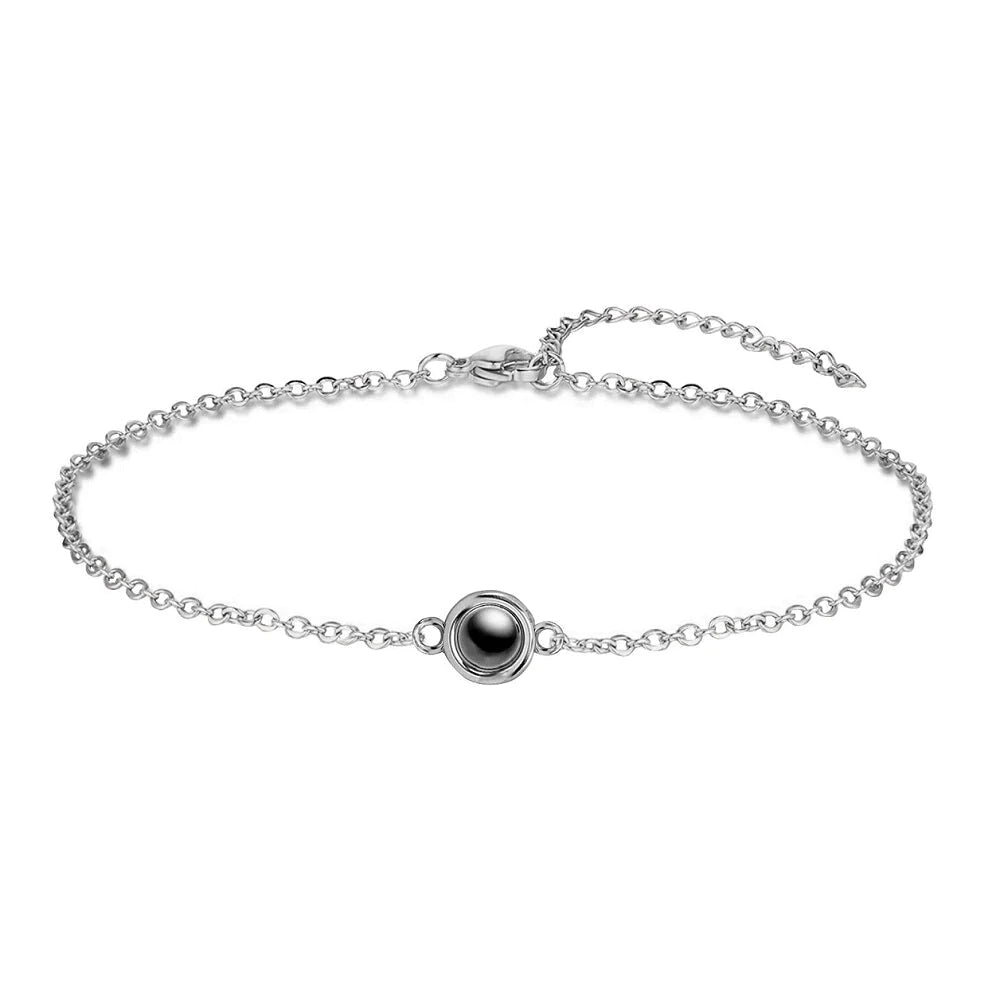
Jewelry and Bow Ties
When wearing a bow tie, you can enhance your look with the right accessories. Pairing a bow tie with a stylish lapel pin or a classy watch can elevate your outfit to the next level. However, be mindful not to overdo it – let the bow tie be the focal point of your ensemble.
Final Thoughts
Mastering the art of tying a bow tie takes practice, but with our easy step-by-step guide, you'll be looking dapper in no time. Remember to experiment with different fabrics, colors, and patterns to find the perfect bow tie for any occasion. And don't forget to add a touch of jewelry to complete your sophisticated look.