

Ever thought about making your own necklace? It really just comes down to picking your materials, sketching out a design, and putting the pieces together with a few basic jewelry pliers. The whole process is about stringing beads or linking a pendant to a chain and finishing it off with a clasp. You'd be surprised how simple and fun it is, even for total beginners.
Your Journey Into Handmade Jewelry

Welcome to the wonderful, creative world of DIY jewelry! Making your own necklace is so much more than a craft project; it’s a chance to design something that’s 100% you. Think of this guide as your creative roadmap, here to take you from a spark of an idea all the way to a finished piece you’ll be excited to show off.
We're here to take the mystery out of the process. We'll break down everything from choosing the right pliers to getting that final clasp perfectly secure. Forget those overly complicated instructions. My goal is to show you just how satisfying it is to create professional-looking necklaces right from your kitchen table.
Why Make Your Own Necklace?
There's a real desire out there for accessories that feel unique and personal, not mass-produced. When you make your own necklace, you aren't just putting parts together; you're creating a little piece of wearable art that tells a story.
Taking a hands-on approach has some fantastic perks:
- Total Customization: You're in complete control. You pick the chain length, the color scheme, the style of beads, and the perfect pendant.
- Meaningful Gifting: Nothing says "I care" like a handmade gift. It shows real thought and effort, making it an amazing present for birthdays, holidays, or just because.
- A Relaxing Creative Outlet: Jewelry making is a fantastic way to unwind. It lets you disconnect from the noise and focus on creating something beautiful with your own two hands.
This push for personalization isn't just a small trend. The global jewelry market, worth around $348 billion, is seeing a major shift toward unique designs. In fact, the demand for alternative gemstones is climbing by 28% every year. This tells us people want pieces that stand out—and that’s exactly what you get when you create your own.
Expert Tip: Start simple. Seriously. Your first project doesn’t need to be some elaborate, multi-strand masterpiece. A single, stunning pendant on a delicate chain is a beautiful and totally achievable first project. It'll teach you the essential skills, like opening jump rings and attaching a clasp, without feeling overwhelming.
Diving into handmade jewelry is a great way to connect with the core ideas behind artisan jewelry, which is all about craftsmanship and individual expression. It’s about giving you the power to create, not just consume.
Choosing Your Tools and Materials
Before you dive into designing, let's talk about setting yourself up for success. The right tools and materials are what separate a homemade-looking piece from something truly special and durable. A great starting point is having an organized workspace. A dedicated craft desk with storage can be a game-changer, keeping everything you need within reach so you can stay in that creative flow.
The Essential Toolkit
You don’t need a whole workshop to get started. In fact, you can create a beautiful necklace with just three core tools. Think of these as your must-haves.
- Round-Nose Pliers: These are your secret weapon for making perfect loops and curves. Their cone-shaped jaws let you create professional-looking wire connections every time.
- Chain-Nose Pliers: With their smooth, flat jaws, these are perfect for gripping tiny components, opening and closing jump rings without marring the metal, and crimping beads nice and tight.
- Wire Cutters: A good, sharp pair of flush cutters is non-negotiable. They give you a clean, straight snip on your wire, leaving no pointy, snag-prone edges behind.
Investing in these tools is a smart move. The jewelry making equipment market was valued at around USD 1.5 billion and is projected to hit USD 2.74 billion by 2034, which just goes to show how many people are discovering the joy of crafting their own accessories.
Selecting Your Stringing Material
What you string your beads on is just as important as the beads themselves. It determines how your necklace hangs and how well it holds up over time. The best choice really depends on the look you're going for.
For a classic beaded look, flexible beading wire (brands like Beadalon or Soft Flex are fantastic) is the gold standard. It’s actually a tiny steel cable coated in nylon, which gives it both amazing strength and a beautiful, fluid drape.
If you’re leaning more toward a rustic or boho vibe, a simple leather or cotton cord is a great fit, especially for chunky, natural beads or a single bold pendant. For a more delicate piece, you could start with a pre-made sterling silver or gold-plated chain as your base. When you're picking out metals, it really helps to know what you're buying. We have a whole guide explaining why 925 sterling silver is a top choice for jewelry that lasts.
Pro Tip: Always match your wire thickness to the weight of your beads. Delicate, lightweight beads need a finer wire to hang properly, while heavier glass or stone beads demand a thicker, sturdier wire to support them without stretching or breaking.
Choosing Beads and Findings
Okay, now for the really fun part: picking out all the pretty things! When you make your own necklace, your creativity is the only limit. You can mix and match glass seed beads, semi-precious stones, metal charms, or even pendants you’ve made from polymer clay. The trick is to find a balance where the colors, shapes, and textures all work together.
Finally, you’ll need some hardware, which in the jewelry world we call findings. These are the little functional bits that bring it all together.
- Clasps: Lobster clasps are the go-to for security, but a toggle clasp can be a beautiful decorative element in its own right.
- Jump Rings: These are simply small metal rings used to connect everything—from your clasp to your chain and any charms you want to add.
- Crimp Beads: These tiny metal beads are your finishing touch. You’ll use your pliers to flatten them onto the beading wire right next to the clasp, locking everything securely in place.
Bringing Your Necklace Design to Life
This is where the magic really happens—turning that pile of beads and wire into something beautiful. But before you string a single bead, take a moment to plan. Trust me, mapping out your design first saves you the headache of having to undo and restring everything later because the pattern just isn't working.
A simple bead board is your best friend at this stage. These boards have little channels that let you lay out your beads, play with different color combinations, and see how everything looks together. You can try out a perfectly symmetrical design or go for something more random and organic without committing.
Planning Your Layout
Start by placing your centerpiece—maybe a cool pendant or a large, eye-catching bead—right in the middle of your bead board. Then, work your way out from there, arranging the rest of your beads on either side. This approach helps you get a real feel for the final balance and weight of the necklace.
Think about these little details as you go:
- Color Combos: Try grouping colors that look great together. An easy trick for a professional look is to create an ombre effect, arranging your beads from the lightest shade to the darkest.
- Texture & Shape: Don't be afraid to mix it up. Combine smooth glass beads with rough-cut stones or shiny metal accents. That contrast is what gives a piece character and depth.
- The Role of Spacers: Never underestimate small spacer beads! They're perfect for making your more important beads stand out and keeping the whole design from looking too cluttered.
The image below gives you a nice visual of the basic components you'll be working with, from tools to materials.
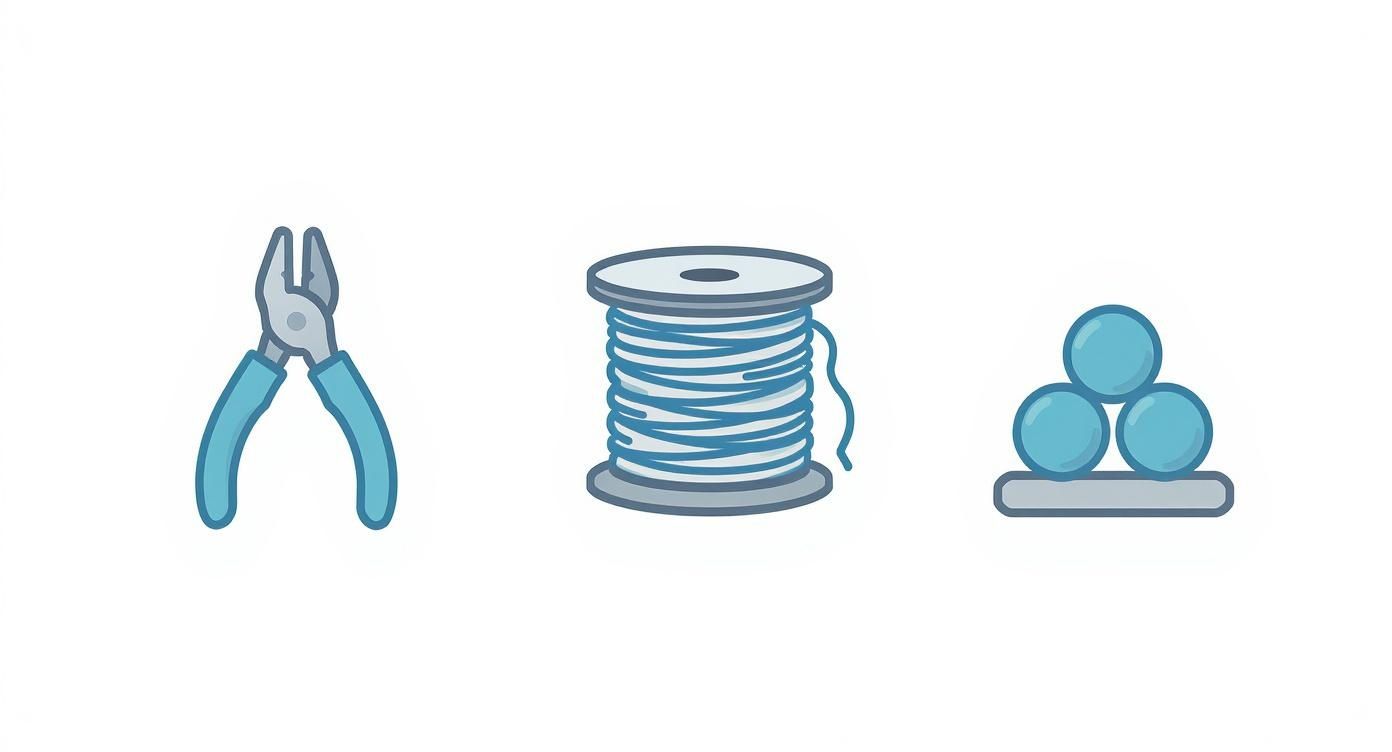
This just shows how fundamental pieces like pliers, wire, and a good selection of beads are the starting point for any custom necklace.
Putting It All Together
Once you love the layout on your board, it’s time to start building. With a solid plan in place, this part actually goes pretty quickly. The most important step right now is getting the first half of the clasp attached securely—this is the anchor for your whole piece.
Take your beading wire and slide on a tiny crimp bead, then thread on one side of your clasp. Now, loop the end of the wire back through that same crimp bead, which will create a small loop holding the clasp. Grab your chain-nose pliers and give that crimp bead a firm squeeze to flatten it. Just like that, your clasp is locked in and ready to go.
Now for the fun part: stringing your beads. Follow the pattern you laid out, sliding each bead onto the wire. You want them to be snug, but don't pull the wire super tight. A necklace that’s strung too taut will be stiff and won't hang right.
My Pro Tip: Always leave about a quarter-inch of slack in the wire before you close off the second end. This tiny bit of wiggle room is the secret to a necklace that drapes naturally and feels comfortable to wear.
Remember, the final length of your necklace really defines its style. If you want to get a better handle on what length works best, our guide on choosing the right chain length for necklaces is a great place to start. And if you're feeling ambitious, you can even draw inspiration from more complex pieces like an artisan sterling rock crystal two-strand beaded necklace.
Adding Those Professional Finishing Touches
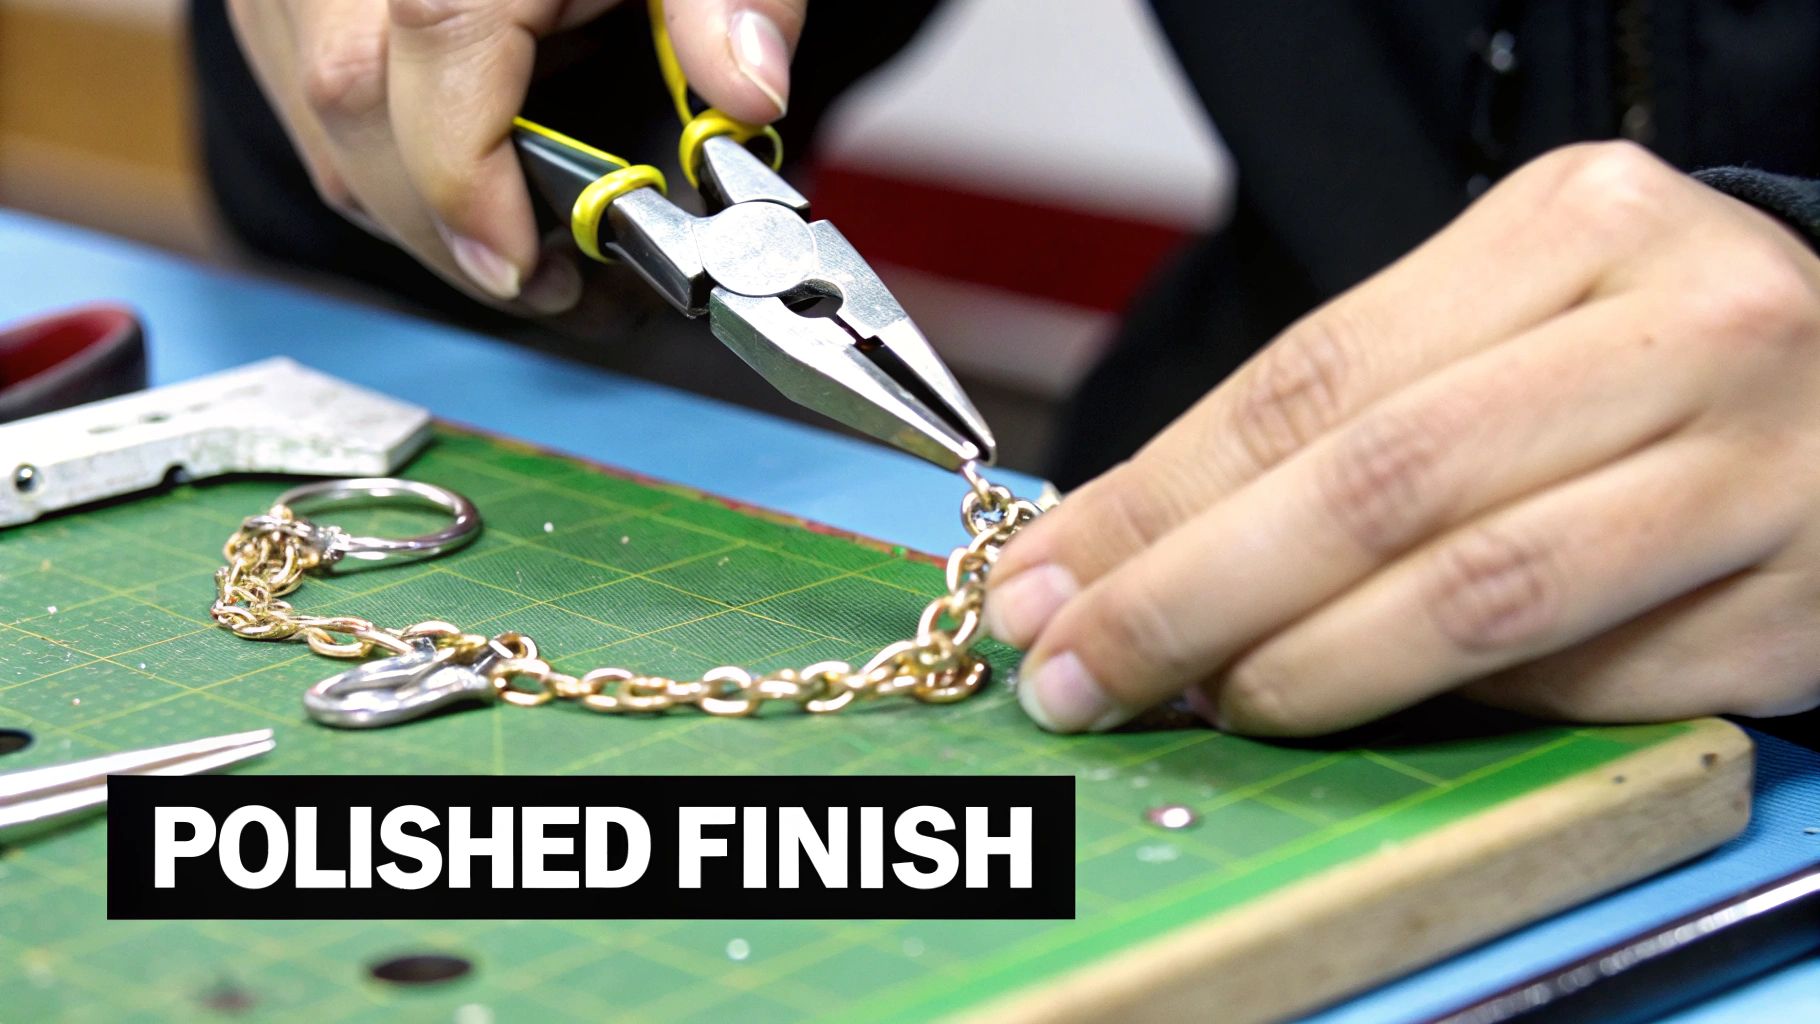
This is where the magic really happens. The small details are what separate a piece that looks "homemade" from one that feels like a true, handcrafted treasure. These final steps give your necklace a polished, durable quality, turning it into something you can proudly wear for years.
Securing the Final Clasp
With all your beads in place, it’s time to close it all up. Just like you did at the beginning, you’ll attach the other half of your clasp. Start by sliding a crimp bead onto the beading wire, followed by the second part of your clasp.
Now, carefully loop the tail end of the wire back through that same crimp bead and tuck it into the last few beads on your necklace. Pull the wire gently to get rid of any major slack, but be careful not to make it too tight—you need a little wiggle room so the necklace drapes naturally. Once you’re happy with it, use your chain-nose pliers to give the crimp bead a firm, even squeeze. Trim any leftover wire as close to the beads as you can.
Key Takeaway: A properly secured crimp bead is everything. It's the structural backbone of your entire piece. A weak crimp means your beautiful necklace could fall apart, so take your time on this crucial final step.
Mastering the Art of the Jump Ring
Jump rings are the unsung heroes of jewelry making. They're what connect your charms and clasps to everything else, so learning to close one the right way is a total game-changer. Here’s the secret: never, ever pull a jump ring open. Pulling it apart weakens the metal and makes it almost impossible to close again without a gap.
Instead, grab the ring with two pairs of pliers. Gently twist one end forward and the other back, just enough to create an opening. After you’ve slipped your charm or clasp on, simply twist the ends back together until they are perfectly flush. You should hear a tiny "click" as they align. This simple technique creates a secure closure that won't snag on your clothes or let your precious charms escape.
Small Additions for a Big Impact
A couple of extra components can elevate your necklace from good to great, adding both function and a professional look. These tiny additions make a world of difference.
- Wire Guards: Also known as wire guardians, these little U-shaped findings are your beading wire's best friend. They protect the wire from the constant friction of the clasp. Just thread your wire through the guard before attaching the clasp for an instant durability boost.
- Extender Chains: Want a more versatile fit? Attach a short length of chain to one end of the clasp. This allows the necklace length to be adjusted, which is an absolute must if you're making the piece as a gift.
Finally, remember that different metals require different care. Understanding things like how to care for sterling silver will keep your creations looking brilliant for a long, long time. By putting in a little extra effort on these finishing touches, you’re not just completing a project—you're crafting a high-quality piece built to last.
Creative Ideas for Your Next Project
Once you have the hang of stringing beads and closing clasps, the real fun begins. You're no longer just following steps; you're creating. This is where you can start to play with themes, mix up materials, and develop a style that’s all your own.
The desire for one-of-a-kind pieces is huge right now. You can see it in the global jewelry market, which has grown to an incredible USD 232.94 billion—a jump fueled by people wanting jewelry that tells their own story. What better way to do that than by making something yourself?
From Simple Strands to Layered Looks
Layering is one of the easiest ways to get that effortless, high-end look. The secret is all about contrast. You want to mix different lengths, textures, and even metals to create a look that's visually interesting.
Think about starting with a delicate, short chain. Then, add a slightly longer one with a tiny charm, and finish it off with a longer pendant necklace that becomes the centerpiece.
Here are a few combinations that I’ve found always work well:
- Mixed Metals: Forget the old rules. Pairing silver with gold or rose gold gives your look a modern, eclectic vibe that’s very on-trend.
- Varied Textures: Try a smooth, slinky snake chain next to a colorful beaded strand and a chunkier link chain. The different surfaces catch the light in unique ways and add so much depth.
- A Pop of Color: Make one of your necklaces the star by choosing something with vibrant birthstones or colorful beads. Let the simpler metallic chains act as its supporting cast.
Layering is a great way to show off multiple pieces you’ve made, turning them into a single, cohesive statement.
Creating a Personalized Photo Locket
There’s something so timeless and sentimental about a photo locket. It’s a classic for a reason—it lets you keep someone you love close to your heart.
While you can work with traditional lockets, you can also bring that idea into the modern-day by adding special photo charms for necklaces to your designs. These aren't your average charms. They use a tiny, hidden lens to project a favorite photo when you shine a light through it, turning a beautiful accessory into a magical surprise.
It’s a truly heartfelt project and makes for an unforgettable gift.
Gifting Insight: Presentation is everything when giving a handmade gift. Don't just hand the necklace over. Place it in a soft velvet pouch or a nice little gift box. Tucking in a handwritten note that explains why you chose the beads you did or what the charm means will make the moment they open it even more special.
Feeling inspired? Here are a few more ideas to get you started, ranging from quick and easy to a bit more involved.
DIY Necklace Ideas and Difficulty
| Project Idea | Key Skills | Estimated Time | Best For |
|---|---|---|---|
| Simple Beaded Strand | Basic stringing, crimping, attaching a clasp | 30-60 minutes | Beginners, a quick and thoughtful gift, or a colorful accessory. |
| Layered Charm Necklace | Measuring chains, attaching jump rings, planning a layout | 1-2 hours | Creating a trendy, personalized look with multiple elements. |
| Photo Locket Assembly | Precise photo trimming, gluing, handling delicate parts | 1 hour | A deeply sentimental gift for anniversaries, birthdays, or memorials. |
| Wire-Wrapped Pendant | Wire bending, wrapping techniques, creating loops | 2-3 hours | Showcasing a special stone or creating a unique focal point. |
Each of these projects lets you build on your skills and create something truly meaningful. Don't be afraid to mix and match these ideas—add a wire-wrapped crystal to a layered look or a tiny charm to a simple beaded strand. The possibilities are endless.
Got Questions About Making Your Own Necklace?
As you dive into making your own jewelry, you're bound to have questions pop up. That’s a good thing! It means you're learning. Let's walk through some of the most common hurdles new creators face and get you some clear answers.
What’s the Best String to Use When I’m Just Starting Out?
If you're new to this, do yourself a favor and start with flexible beading wire. I always recommend brands like Beadalon or Soft Flex because they're practically foolproof.
Think of it as a tiny, nylon-coated steel cable. It’s incredibly strong, won't kink or fray the way thread does, and is a lifesaver when you're learning to attach clasps with crimp beads. It gives your finished piece a professional feel right from the get-go.
How Do I Figure Out the Perfect Necklace Length?
The easiest trick in the book is to just grab a piece of string. Drape it around your neck and adjust it until it hangs exactly how you imagine your finished necklace will. Once you've got it right, just measure that piece of string.
It also helps to know the standard sizes so you know what to aim for:
- Choker (14-16 inches): Sits snugly around the neck.
- Princess (17-19 inches): The most common length, resting right on the collarbone.
- Matinee (20-24 inches): Lands gracefully between the collarbone and the bust.
Think about the necklines you wear most often or the size of the pendant you’re using. A big, bold pendant often looks best on a longer chain, while a delicate charm shines at a shorter length.
Help! Why Does My Finished Necklace Look So Stiff?
Ah, the classic beginner mistake—and a super easy one to fix! This almost always happens when you string the beads too tightly together. Before you crimp that final end, make sure you leave just a tiny bit of slack. The necklace needs a little breathing room for the beads to move, which allows it to drape beautifully and naturally instead of sticking out like a board.
Love the idea of a one-of-a-kind necklace but maybe not the hands-on work? Hidden Forever offers a different kind of personal touch. We turn your favorite photos into incredible projection jewelry—a piece of wearable magic that arrives ready to wear or gift.
See how it works and explore the collection.